Showing posts with label Freebies. Show all posts

Saturday, February 9, 2019

Rebekah's Flower Afghan

Super excited to have finally finished my first motif design and made it into an afghan.  It's taken me awhile to get the pattern down right.  Thanks to my friend, Barb, for the help editing!  I hope you enjoy the freebie and if you find anything incorrect, please let me know.

REVISED

Free Ravelry download now available with directions for the Lattice Join:   www.ravelry.com/patterns/library/rebekahs-flower-afghan
Rebekah's Flower Square Motif Afghan 

42 in. x 61 in.


st – stitch(es)
sc – single crochet
dc – double crochet
tr – treble crochet
hdc – half double crochet

Size H hook

Hobby Lobby I Love that Cotton yarn
7 skeins antique cream, 2 skeins sage, 2 skeins banana, 2 skeins aqua, 3 skeins rosey II
(I'm pretty sure these are the amounts of yarn I used.)
Make 48 squares, 16 of each color.

Beginning row: Magic Ring, ch 2 (counts as first hdc), 7hdc in magic ring, join with slip stitch in top of ch 2. (8)

Row 1: ch 3 (counts as first dc), dc in same ch 3 space, 2dc in each stitch around (16)

Row 2: First row of petals. Working in front loop only of row 1, slip stitch in front loop only of top of ch 3, ch 3, (tr, ch 1, tr, dc) in same st as ch 3, slip stitch in next front loop only, *(dc, tr, ch, tr, dc) in next front loop only, slip stitch in next front loop only*, 6 times. (dc, tr, ch, tr, dc) in next stitch. Slip stitch in both loops of next st. You will have 8 flower petals.

Row 3: Slip stitch into 2nd ch of ch 3 from Row 1 (behind 1st flower petal) (ex.1), ch 3, dc in same stitch, ch 2 (ex.2), working in back loops only of row 1, skip next st, *2dc in next st (you should be working in the back loop that lies between Row 2’s petals), ch 2, skip next st*, repeat from *to* 7 times. Join with slip stitch in the top of ch 3 (ex.3).

ex.1


ex.2


ex.3

Row 4: sc in next dc, (2dc, tr, ch, tr, 2dc) in next ch 2 space (ex.4), skip next st, sc in next dc which is the second dc, *(2dc, tr, ch, tr, 2dc) in next ch 2 space, skip next st, sc in next dc*, repeat from *to* 6 times. (2dc, tr, ch, tr, 2dc) in next ch 2 space, slip stitch in next st which is the hidden stitch of the next dc. Tie off. (8 flower petals) Change yarn color.

ex.4


Row 5: Join yarn to top of first flower petal in the ch 1 space with a standing sc, ch 3, *(dc, ch, dc) in next sc (base of flower petals), ch 3, sc in ch at top of petal, ch 3*, repeat from *to* 7 times, (dc, ch, dc) in next sc, ch 3, slip stitch in 1st ch. Tie off. Change yarn color.


Row 6: Join yarn in any ch 1 space with a standing sc (in center of the 2 double crochet V), ch 2, hdc in same space, 4sc in next ch 3 space, ch 1, *(hdc, 2dc, 2tr) in next ch 3 space, ch 2, (2tr, 2dc, hdc) in next ch 3 space, ch 1, 4sc in next ch 3 space, 2hdc in next ch space (between 2dc), 4sc in next ch 3 space, ch 1*, repeat from *to* 3 times, (hdc, 2dc, 2tr) in next ch 3 space, ch 2, (2tr, 2dc, hdc) in next ch 3 space, ch 1, 4sc in next ch 3 space. Join with slip stitch to top of ch 2. Do not tie off.

Row 7: [Note:  I've changed the corner directions from what I used on the afghan.  Originally it was 3 dc, however, it lays better with the new (3dc, ch, 3dc).]

Ch 2, hdc in next 4 sc, dc in ch 1 space, skip next st, hdc in next 4, *(3dc, ch, 3dc) in ch 2 space which makes your first corner, skip next st, hdc in next 4 st, dc in ch 1 space, skip next st, hdc in next 9 st, dc in ch 1 space, skip next st, hdc in next 4*, repeat from *to* 3 times, (3dc, ch, 3dc) in ch 2 space, skip next st, hdc in next 4 st, dc in ch 1 space, skip next st, hdc in next 4 st. Join with slip stitch to top of ch 2. Tie off.


I connected all 48 squares with a Lattice join.

(REVISED)


LATTICE JOIN


The squares are put together with a lattice join.  I couldn’t find a pattern so I came up with this.  In your first square, connect your yarn with a standing single crochet in the first dc after the ch 1 corner at the beginning of any row.


Ch 3, skip next 2 stitches, sc in the next stitch, *ch 3, skip next 2 stitches, sc in next stitch.*  Repeat from * to * 7 times. Ch 5, sc in the next dc skipping ch 1corner space. (*Ch 3, skip next stitches, sc in the next stitch, repeat from * to * 7 times. Ch 5, sc in the next dc skipping the ch 1 corner space.) Repeat ( ) 2 times skipping last sc on final side.  Slip stitch to first sc. Tie off


You will now have one square with chain 3’s on all 4 sides. 


The next square you will follow the above pattern on only 3 sides stopping before the ch 5.


To join this block to the first blocke, ch 2, slip stitch into the 3rd chain of any corner of the first square, ch 2, sc in the next dc, *ch 1, slip stitch into the 2nd ch of the first squares next ch 3 set, ch 1, sk next 2 stitches of second squares previous row, sc into next stitch.*  Repeat from * to * 8 times.


Ch 2, slip stitch into the 3rd chain of the 1st squares corner 5 ch, ch 2, slip stitch into next sc.  Tie off.  You will connect your first row of blocks this way.  
 
Join your first block of second row exactly like you did your first and second blocks by ch 2, slip stitch into previous rows third ch of the corner ch 5 which already has a joining stitch in it, ch 2, sc in the next dc, ch 1, slip stitch into the second ch of the above block’s next ch 3 set, ch 1, sk next 2 stitches of new block’s previous row, sc into next stitch.  Continue to next corner, ch 2, slip stitch into third ch of ch 5 of second rows first block which already has a joining stitch in it from the previous row, ch 2, slip stitch into starting sc.  Tie off.


The next block of the second row, crochet around the first 2 sides using the sc, ch 3, sc, ch 5 pattern described above.  When you get to your second corner join to your previous row of blocks as follows. 


To join this block to the previous row, ch 2, slip stitch into the third chain of ch 5 corner of the above block which already has 2 joining stitches in it, ch 2, sc in the next dc, ch 1, slip stitch into the second ch of the above block’s next ch 3 set, ch 1, sk next 2 stitches of second block’s previous row, sc into next stitch.  Continue to next corner, ch 2, slip stitch into third ch of previous blocks corner ch 5, ch 2, slip stitch into starting sc.  Tie off. 


BORDER


Next, I single crocheted around the entire afghan and (hdc, dc, ch, dc, hdc) in the corners. 


For the leaf border, I used a V stitch (dc, ch, dc in same stitch) with a ch between.  I found the prettiest little rose clump stitch on Pinterest and followed the chart directions found here.


The final row was a scalloped border of (5 dc, skip 1 stitch, sc in next stitch, skip 1 stitch), repeat ( to ) all the way around.  I did not block my squares so my center petals have curled up giving a nice textured look.  You may want to block them if you prefer the flatter look. 


Wednesday, October 31, 2018

Gratitude

"It is not Joy that makes us Grateful, it is Gratitude that makes us Joyful."

During this season of thanksgiving, remember all the blessings you have been given.  Thankfulness brings peace to our hearts and joy to our lives.  Live in Gratitude!


Friday, August 11, 2017

Wisdom and Integrity

The background photo is of a very special place, the Missouri Botanical Garden in St. Louis.  As I'm currently living in the UK, this photo has special meaning as I miss this part of being home very much.  We are in a rainy season right now so it has been a bit blah recently.  As I type, the rain is tapping away at the windows.  Dog gone it....if it's going to rain, couldn't I get a nice thunderstorm to go along.  Unfortunately, those are rare here and they are another thing I miss about the US Midwest.


Aimee


Friday, April 28, 2017

Spring Photography

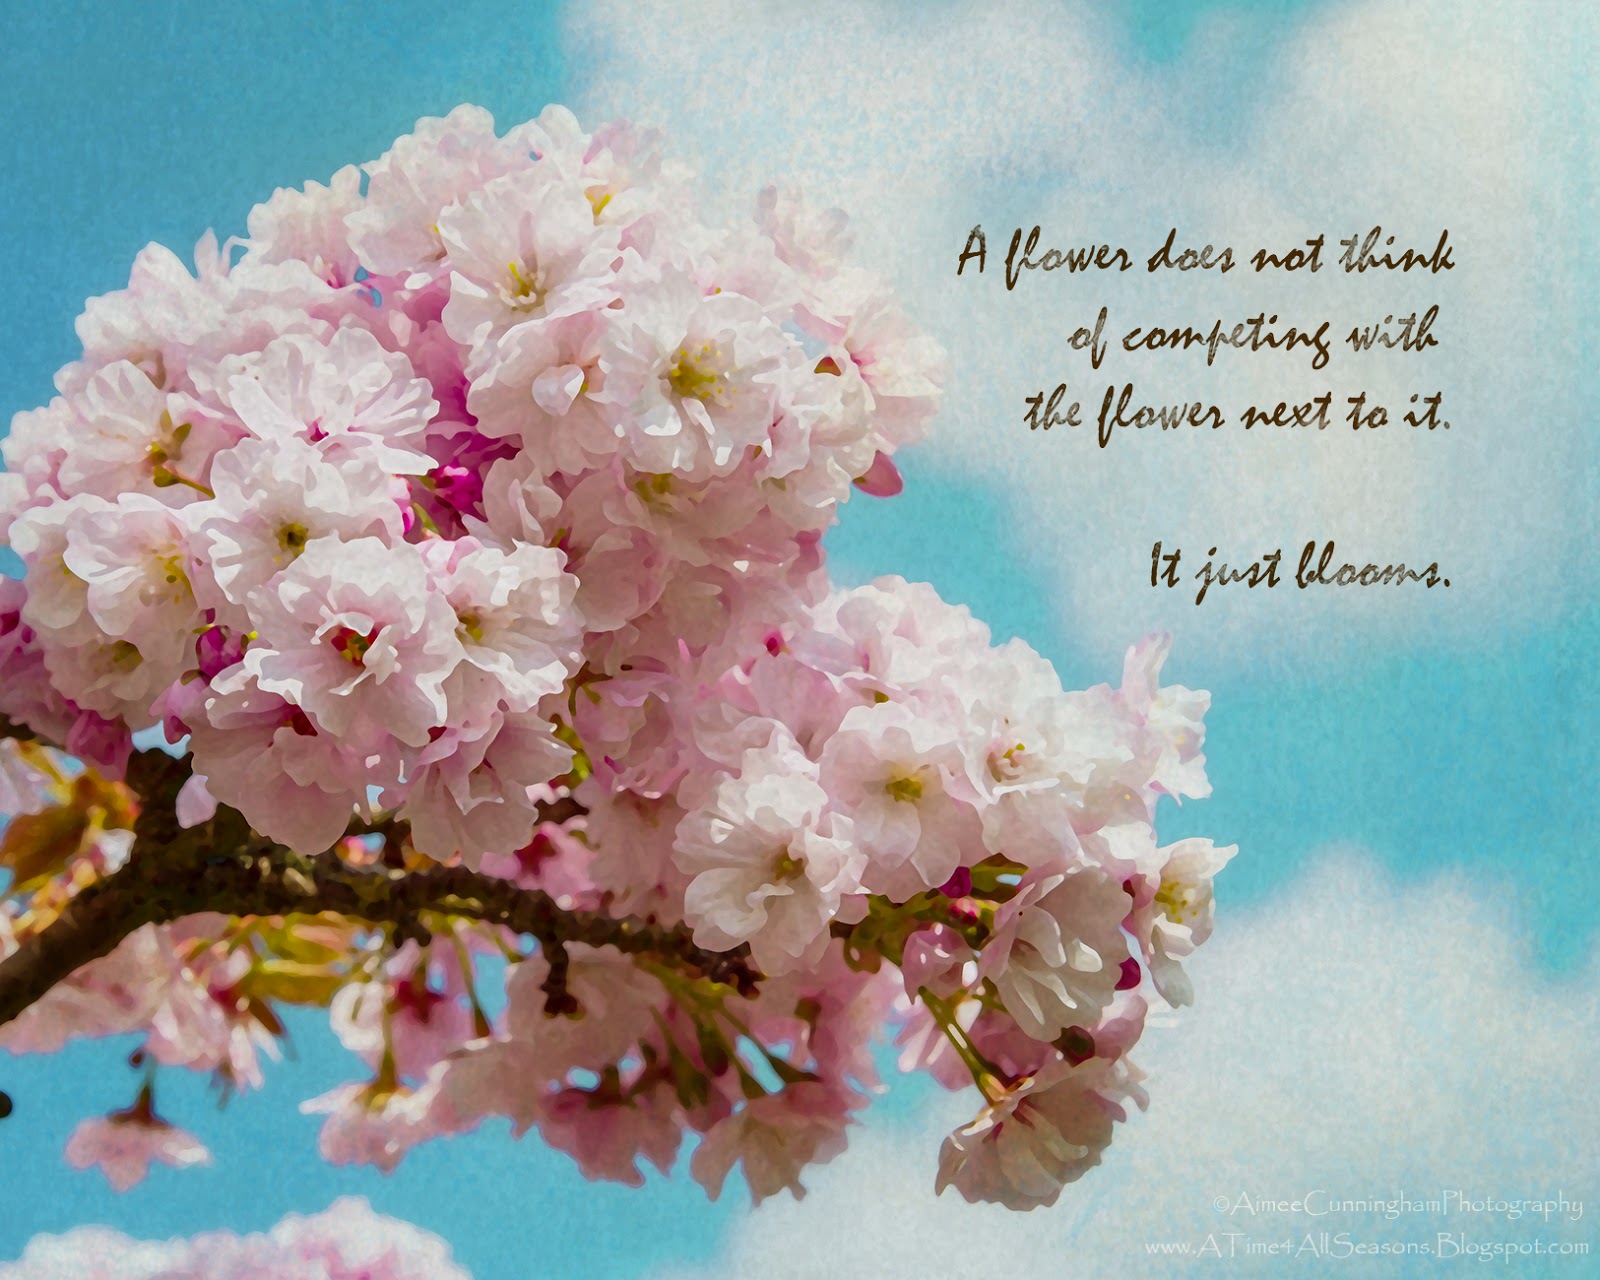
I love taking photos of the Spring flowers...the soft, fresh colors draw me in.  This cherry tree was beautiful.  I tried something a little different with this print making it look more like a painting than a photo.  

A flower does not think of competing with the flower next to it.  
It just blooms.


Aimee

Friday, April 14, 2017

Find Joy Photography

Here's a little reminder to remember to find JOY in the little things.  Life is full of stress and anxiety that can weigh us down, steal our JOY.  Sometimes it helps if we focus on the ordinary...the simple pleasures.  I went through a time when I found it hard to be joyful.  I turned to writing it down, writing down each little thing that brought me happiness, a smile.  I don't need that journal anymore, but it's a habit, I guess as a photographer, to look for the little things.  So now it's a part of me, all I have to do is look around and see and hear lots of things that bring me JOY.  Sometimes it's a big thing like a life event, but more often than not it's the ordinary...

          a bird whistling in our trees,
          a daffodil blooming as the first signs of Spring,
          a baby's smile,


          or a ride on a ferris wheel!

Aimee

Friday, February 17, 2017

Find JOY in every new day!

I think my life theme is JOY!  If you look hard enough, you will find JOY in all the details of life.....BIG and small.


                      FIND JOY IN EVERY NEW DAY.


Aimee

Friday, January 20, 2017

Our Hope is in the Lord

This has always been one of my favorite verses.  Life may make us weak at times.  Many struggle with money, addictions, health problems, but there is a strength that we can tap into far greater than anything on this earth.  Blessings to all.


Aimee

Friday, August 12, 2016

Sedona

It's mid-August and and here in the UK, I've already noticed some beginning color changes in the trees.  If I remember right from last year, the Conker trees were the first to change and start losing their leaves.  The weather is so different here than what I'm used to in the States.  It can be swimsuit weather one day and sweater weather the next.  I have to say I don't really miss those +90 degree days of the Midwest.


Aimee

Thursday, April 25, 2013

Lil' Bluebird

I searched for a pattern to make this shape bird to match my logo, but I couldn't find one that worked.  So, I set out to create one of my own.  I think he turned out rather cute.  The bird would make a cute garland strung together on a ribbon.  Would also be a really cute mobile for a nursery.  

 
Lil' Bluebird
Size I Hook
Caron Simply Soft
ch - chain
st - stitch
sc - single crochet
hdc - half double crochet
dc - double crochet
slst - slipstitch

BODY
Row 1:  Magic Circle, ch 3, dc 14 in circle, slst in top of ch 3,
Row 2:  slst in next st, sc in next st, 2 sc in next st, hdc in next st, 2 hdc in next st. *dc in next st, 2 dc in next st, repeat from * 3 more times to beginning of row (first slst).
Row 3:  ch 1, 2 sc along edge of last row (along dc), *sc in next st, 2 sc in next st, repeat from * 6 more times, hdc in next st, 2 hdc in next st, *dc in next st, 2 dc in next st, repeat from *1 more times, 1 dc in ch 1 beginning of row, tie off, weave in ends.

HEART WING

Row 1:  Magic Circle, ch 1, 10 sc in circle, slst in top of ch 1.
Row 2:  ch 1, (hdc, dc, hdc) in next st, hdc in next, sc in next 2, (hdc, 2 dc) in next st, 2 slst along edge of last dc, sc in next 2, hdc in next st, (hdc, dc, hdc) in next st, slst in next, tie off, weave in ends.


BEAK
Attach yarn to center of front, ch 1, hdc in next st, tie off, weave in ends.

EYE
Use tiny black button or 1 french knot embroidery stitch.
 

Friday, March 1, 2013

Is it Spring yet?


As I sit here watching snow falling quietly on my deck, I'm wondering where Spring is?  Regardless of the weather and the tricks it's playing on me, I decided to change out the house decor and usher spring in.  I've been busy crocheting some really cute Easter eggs for my tree (pattern below). I used the left over roses from Ari's wedding flowers to make a pretty little center piece for my kitchen table.  Now I have a reminder of a very special day!  


Easter Egg Pattern

sc-single crochet
sc dec-single crochet decrease
st-stitch
slst-slip stitch
 
G hook

Worsted weight yarn (I used 100% cotton)
 
Working in the round.  You may want to mark the beginning of each row.

Rnd 1:  Magic Ring, 1 sc, 5sc in ring. 5sc
Rnd 2:   2sc in next sc around. 10sc
Rnd 3:   2sc in next sc, 1sc in next sc around. 15sc
Rnd 4:  2sc in next, 1 sc in next 2 sc around. 20sc
Rnd 5-8:  1sc in each st around. 20sc
Start stuffing the egg.
Rnd 9:  (sc dec, sc in next 3 st around) repeat 4 times. 16sc
Rnd 10:  sc in each st around. 16sc
Rnd 11:  (sc dec, sc in next 2 st) repeat 4 times. 12sc
Rnd 12:  sc in each st around.  12 sc.
Finish stuffing.
Rnd 13:  (sc dec, sc in next 1 st) repeat 4 times. 8sc
Rnd 14:  (sc dec, sc in next 2 st) repeat 1 time. Slst in next sc.  Tie off.  6sc.  Using darning needle, pull yarn through top of sc’s and pull snug to close off opening.   


Wednesday, September 19, 2012

Touched


Spent some time at our local Botanical Garden yesterday to get in some of the last few blooms of the season. They are fading fast, but hopefully to be replaced by some fall colors soon.
 
Thought I'd try something new and give a quick tutorial on how to create the effect on this photo.

Touched

 
I use Photoshop CS5 to create all my textured photos.  First I bring my RAW files into Adobe Camera Raw and adjust for exposure, contrast, and sharpness.  Opening the file into Photoshop, I then add my textures.  In the above photo, I added a bokeh layer set to Screen at 78% opacity and then a second texture layer by Distressed Jewel set to Soft Light at 58% opacity.  I then ran an action from Paint the Moon's Photoshop Elements Set, Fresh Wonderland, called Candy Light Pop adjusting layers to desired look.  If you'd like more information on using textures and actions, visit Rita at The Coffeeshop Blog.  She's got awesome tutorials, as well, as lots of freebies. 
 
To download your free bokeh layer, visit here.  I'd love to see what you create, send a photo to Facebook.  While there, please like our page.  Thanks for stopping by.

Wednesday, September 12, 2012

Adding Bokeh

Spent some time at our local Botanical Garden yesterday to get in some of the last few blooms of the season. They are fading fast, but hopefully to be replaced by some fall colors soon.

Thought I'd try something new and give a quick tutorial on how to create the effect on this photo.

Touched


I use Photoshop CS5 to create all my textured photos. First I bring my RAW files into Adobe Camera Raw and adjust for exposure, contrast, and sharpness. Opening the file into Photoshop, I then add my textures. In the above photo, I added a bokeh layer set to Screen at 78% opacity and then a second texture layer by Distressed Jewel set to Soft Light at 58% opacity. I then ran an action from Paint the Moon's Photoshop Elements Set, Fresh Wonderland, called Candy Light Pop adjusting layers to desired look. If you'd like more information on using textures and actions, visit Rita at The Coffeeshop Blog. She's got awesome tutorials, as well, as lots of freebies.

To download your free bokeh layer, visit here. I'd love to see what you create, send a photo to Facebook. While there, please like our page. Thanks for stopping by.

Cherry Blossoms in Bonn

 When I read about the cherry blossoms in Bonn, I knew we had to get there before they disappeared. And I was not disappointed.  Two streets...